E-BAY to the RESCUE
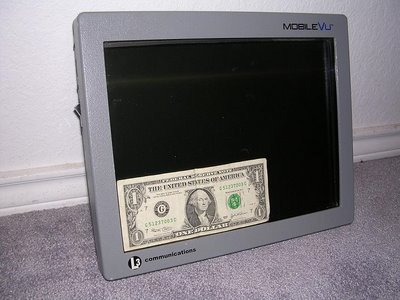
So I find a monitor (Mobile VU – L3 Communications) that looks to be the needed size on e-bay and have a few days left in the auction to research it and insure the dimensions will fit that tight space above the yoke and the top of the glare shield. The auction states it came from a police car computer system.
I e-mailed the seller to ask about screen size and physical dimensions as well as input connections.
As you may recall, the dimensions of this monitor are the basis of PLAN B, other wise the panel dimensions would be off and it would be back to the drawing board to device a PLAN C.
WHILE I WAIT FOR SELLER RESPONSE
I started to think of PLAN C just in case.
Plan C includes a laptop monitor – but after some research found out that getting a laptop monitor to work with a desktop was close to impossible for issues that are beyond my total understanding.
Another option, with a laptop still in mind, was to unhinge the monitor from the laptop and place the monitor from behind the panel facing forward toward the pilot seat and use that laptop with MS Flight Simulator program.
PANEL STRETCHED OVER TWO MONITORS
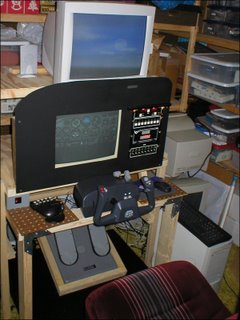
While brainstorming about the laptop monitor, I begin to figure out how the panel would look if stretched over two monitors (the small monitor above the yoke and one larger in the center of the panel.
My idea is somewhat like this:

SOME CONCLUSIONS
1. MS Flight Simulator is already programmed to handle 2 monitors with no problem:
1 for panel and 1 for scenery:
Michael Neal - Colorado USA
But if I was to use two monitors for panel and one monitor for scenery I was going to have a challenge getting this to work. I’m not a computer wizard by any stretch of the word, but maybe someone on the net had ideas.
2. Each panel view is going to need some tweaking to include/exclude the gauges I want. Otherwise each view may be full of unneeded gauges or may be missing them.
SELLER WRITES BACK:
The screen size and physical dimensions the seller notes seem right. So, I placed a bid and I WON THE ITEM !
NOW I CAN START
Overcoming the first obstacle (Finding a monitor small enough to fit over the yoke), I started making many drawings on napkins at restaurants and any scratch paper I could doodle on at home and sometimes at work (If you’ve done this, … you’re well on your way to building a sim of your own. lol).
By now I had a rough idea how I would get some Cessna parts to work with my simulator and began searching for some essential parts. Don't have any idea on how to get a trim wheel to work with the sim but will look for one anyhow.
I searched on e-bay for and won:
-CH Yoke
-CH Pedals
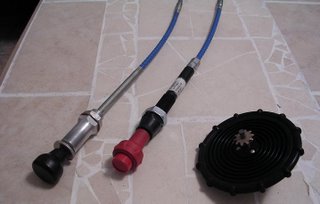
-Cessna 172 Throttle Cable
-Cessna 172 Mixture Cable
-Cessna 150 Trim Wheel (these are hard to find so had to settle for the 150 variety)
WIDEVIEW
I revisit the challenge of getting three monitors/views to work with MS FS and I run into Luciano Napolitano’s awesome program [WideView].
This program allows one to “undock” views and place them in as many monitors as one wants.
Check out this cockpit by Peter Koller using WideView with a LAN:
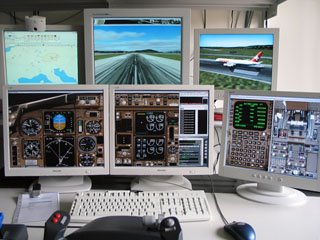
http://www.wideview.it/
FS PANEL STUDIO
I also revisit the needed tweaking of each monitor view and search the good ‘ol web. I found the FS Panel Studio that does just that. So I ordered the CD version.
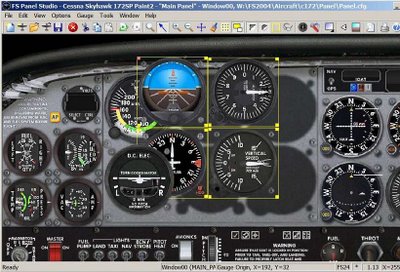
http://www.fspanelstudio.com./
COCKPIT DESIGN
All the mentioned parts are in hand and now on to visit Dad for actual design and eventual construction of the Cockpit.

0 Comments:
Post a Comment
<< Home